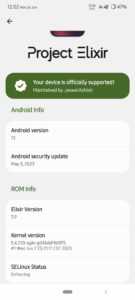
Project Elixir 3.8 For Poco X4 Pro 5G (veux)
Project Elixir is a Custom Rom based on the AOSP. It comes with a lot of features and customization. This is one of the most popular Custom Roms available right now.
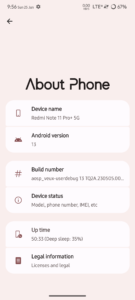
Today, in this post I will share Project Elixir for the Poco X4 Pro 5G. This Rom is based on the android 13 and latest security patch.
Features:
- Android 13
- Game Space
- Unlock high FPS in game
- 5G Support
- MIUI camera included
- Status bar, QS panel, home page, icons, lock screen, customization
- Custom network icon, battery icon, wifi icon , many more
- 120hz support and adaptive display
Project Elixir 3.8 Changelog Poco X4 Pro 5G
- Fixes Settings Crash and Hotspot works fine again.
- Comes with May Security Patch.
- Includes Launcher 3.
- Miui Camera is shipped by default with Rom.
- Dirty flash will be fine too from previous update.
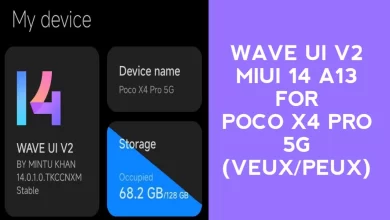
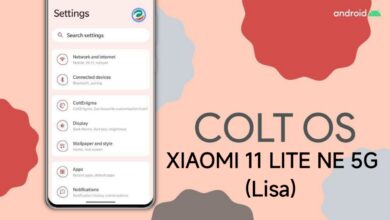
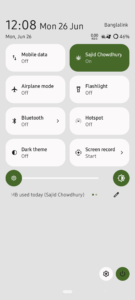
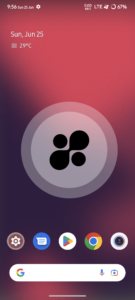
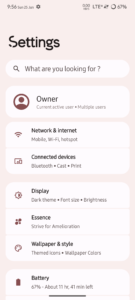
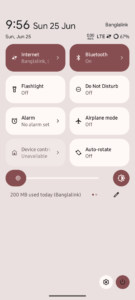
Screenshots:


Prerequisites
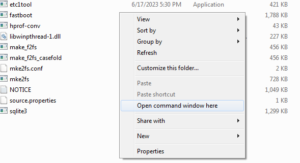
Get the platform tools file. Then extract it on your PC. You will get a folder named Platform Tools, open this folder and proceed to the next steps below.
How To Install Project Elixir Custom Rom on Poco X4 Pro 5G
Before flashing any custom rom you will need to unlock the bootloader of your Poco X4 Pro 5G phone. If you already unlocked and installed the TWRP Recovery then you can simply flash this rom using TWRP Recovery.
Related: TWRP Recovery For Poco X4 Pro 5G
But if you didn’t installed TWRP then follow the below steps to flash this rom properly.
- Get the Project Elixir for Poco X4 Pro 5G from this link. (Important: rename the file into pex.zip)
- Get these two files also: Boot img, Vendor_boot img.
- Move the Project ElixirRom, boot.img and vendor_boot.img files to the platform tools folder.
- Now go to the platform tools folder and press Shift + Mouse Right Click at once. You will see option Open Powershell Window here. click on this option.
- Then it will open a command box here.
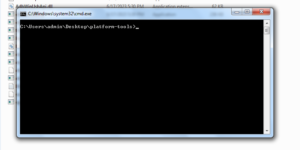
- Then boot your phone into fastboot mode by pressing and holding the Volume down and power button , at once. And connect the phone with your PC using an USB cable. (then give the below commands in the command box)
- fastboot set_active a
- fastboot flash boot_a boot.img
- fastboot flash boot_b boot.img
- fastboot flash vendor_boot_a vendor_boot.img
- fastboot flash vendor_boot_b vendor_boot.img
- Then reboot into recovery mode by pressing and holding the Volume up and power button, at once.
- Then go to Apply Update > Update Using ADB
- adb sideload pex.zip (give command in the command box)
- Then you need to wait for sometime to let the flashing process end.
- Then you can reboot your phone to the system and enjoy your newly installed Custom Rom.
Note: Gapps is already included with the Rom, so no need to flash extra gapps.
Done. Congratulations you have successfully installed Project Elixir custom rom based on Android 13 on your Poco X4 Pro 5G.
The first reboot can take around 5-20 minutes. So, don’t worry just wait and enjoy your new AOSP based Android 13 Rom.
This tutorial is about Poco X4 Pro 5G.But you can follow this method to install this Rom on your, Redmi Note 11 Pro 5G, Redmi Note 11 Pro+ 5G, Redmi Note 11E Pro, Poco X4 Pro 5G.
Because all these devices contain the same code name “veux” “peux” and the board is also the same.
That’s all guys. I hope you like my post. Please drop a comment about the post below. If you have any question regarding this post please let me know in the comments.
Credits:
- Thanks to @nnippon for device tree and MIUI camera.
- Thanks to @XenomorphXX21 and @MrFreakSins for testing.
- Thanks to @jaswal_ashish11 for making the Rom.