TWRP Recovery For Redmi K50i (xaga)
TWRP Recovery is most popular Custom Recovery in Android customization community. TWRP offers a lot of features and easy to use interface. Today, I’m going to share TWRP Recovery for the Redmi K50i.
Prerequirements
Before flashing the TWRP Recovery you need to unlock the bootloader of your Redmi K50i phone. After unlocking the bootloader of your Redmi K50i phone you can flash your favourite custom rom, custom recovery, or any custom modules you want.
So, make sure to unlock the bootloader before flashing the TWRP Recovery.
After unlocking the bootloader you can flash the TWRP Recovery using fastboot mode. For this you will need a Computer or Laptop.
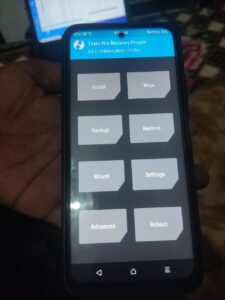
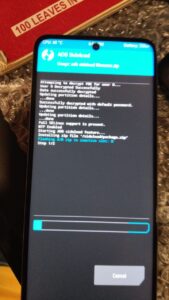
Screenshots:
Changelogs TWRP 3.7.0 For Redmi K50i
- Added support for A13.
- Supports /data decryption in A13.
- Supports all A13 MIUI and AOSP roms
How To Install TWRP Recovery in Redmi K50i (xaga)
Now I will show you step by step procedure to flash and install the TWRP Recovery in your Redmi K50i.
Don’t miss any step otherwise you can be fail to install the custom recovery.
Note: If you make any mistake you can brick/damage your phone. So, proceed carefully. I suggest you to take help from any skilled person.
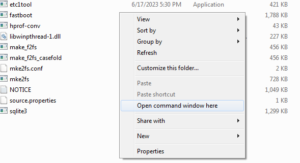
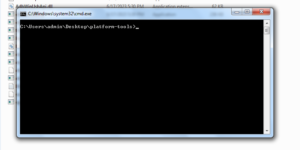
- At first get the platform tools from here. Then extract the file on your PC and open the platform tools folder.
- Press the Shift + Mouse Right Button at once. You will see option Open Powershell Window Here, Click on it.
- Then boot your phone into fastboot mode by pressing and holding the Volume down + Power Button at once. And connect the phone with your PC using an USB Cable.
- Then check if the device connected and working properly by using this command: fastboot devices (hit enter button).
- If the device connected, you will see some random letters and numbers.
- Now get the TWRP Recovery from the following link. TWRP Recovery For Redmi K50i (xaga).
- Then move the vendor_boot.img file to the platform tools folder.
- Then go back to the command window and type the below command and hit the enter button.
- fastboot flash vendor_boot_ab vendor_boot.img
- After successful flash you can boot into the recovery mode by pressing and holding the Volume up and power button at once.
Note: If you failed to flash Roms using this recovery, then you need then you need to flash recovery in Ramdisk.
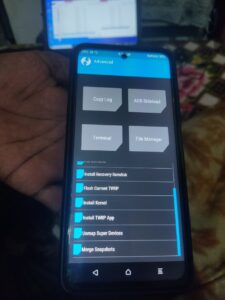
How To Install Recovery in Ramdisk
To install recovery in Ramdisk you don’t need an extra recovery. You can simply flash the current recovery using the advance option in the TWRP.
- boot into recovery mode.
- go to Advance
- Select Install Recovery Ramdisk
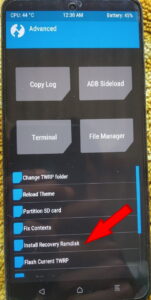
- Then select flash current TWRP
- and then swipe right to flash.
That’s it. You have successfully installed TWRP on your Redmi K50i and also you have installed the recovery in the Ramdisk.
If you get success flashing any Rom, Magisk, Kernel, etc without Ramdisk error, then no need to install recovery in the Ramdisk.
Supported Devices
This TWRP Recovery is for Redmi K50i. The codename for this device is “xaga”. But you can use this TWRP in the Redmi Note 11T, Redmi Note 11T Pro/Pro+, POCO X4 GT and Redmi K50i. Because all these devices has the same codename “xaga” and the board is also the same.
I hope that helped you. Now you can install your favourite Custom Rom, Kernels, Magisk modules, etc using this TWRP Recovery. Thanks for reading my post. If you face any problem during the installation process please comment below.